Once the file is able to be exported and the files have been created, you will need to design the label to display the information you want.
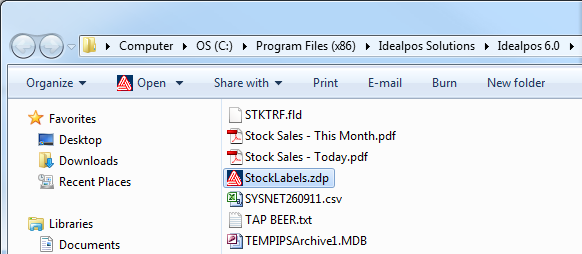
Navigate to the Idealpos folder where the labels.zdp file is located and double-click it to open it with Avery Design Pro.
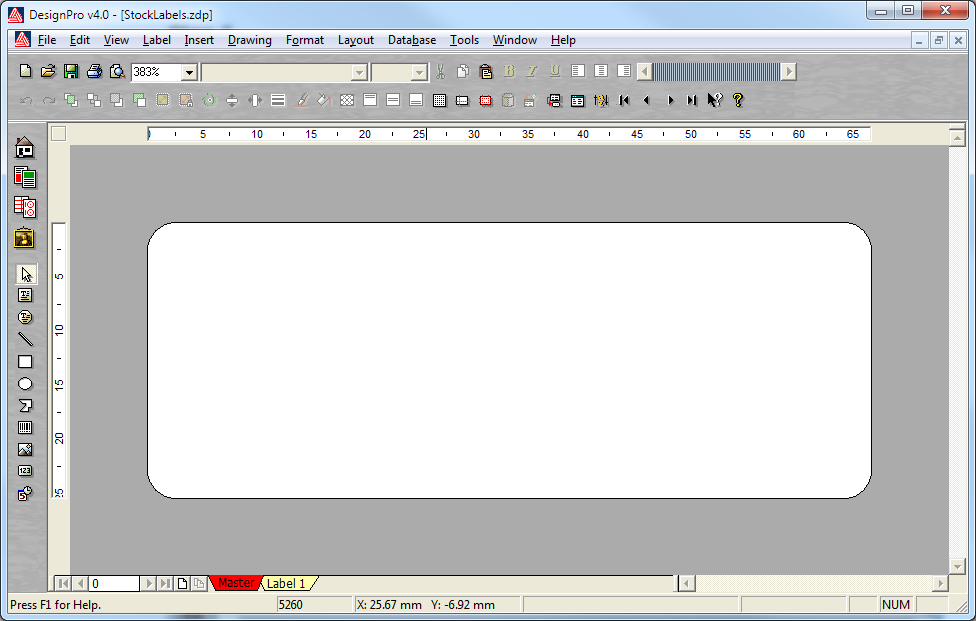
The label will open and display as a blank label.
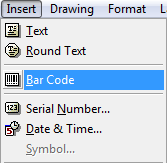
To create a barcode on the label go to Insert > Barcode.
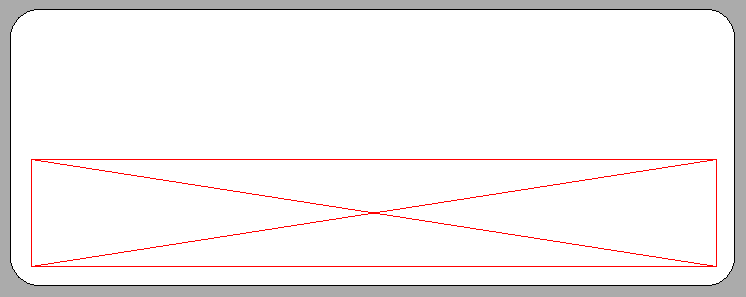
Draw the area where you would like the bar code to print.
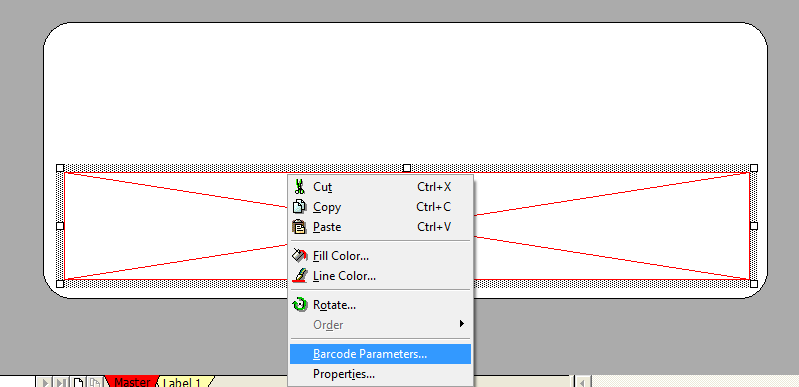
Right-click on the barcode field and select Barcode Parameters.
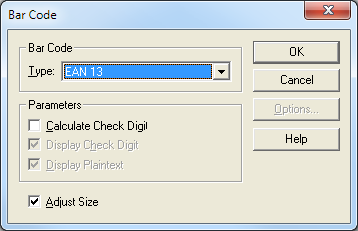
Select EAN 13 from the drop-down box.
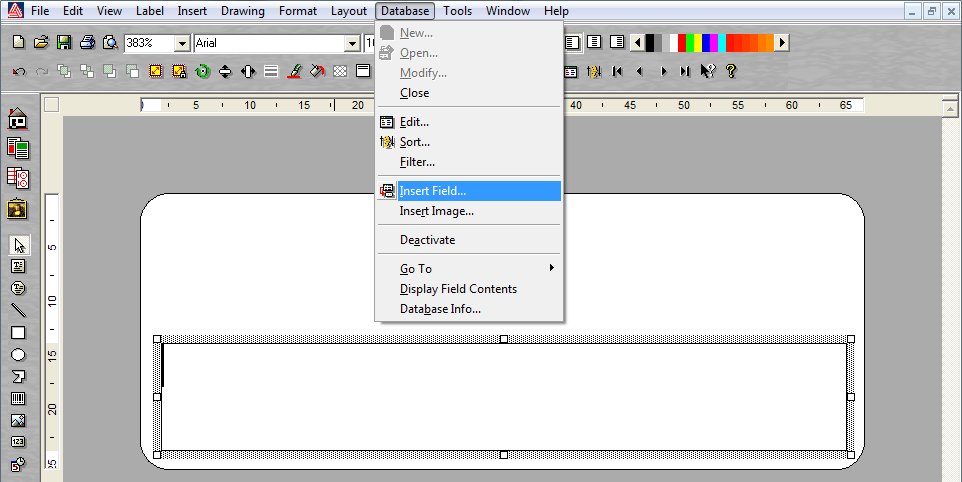
Click the barcode field again and go to Database > Insert Field.
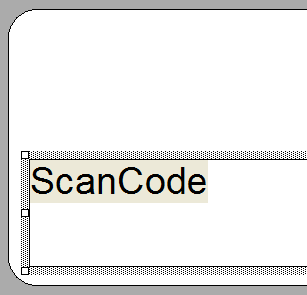
Select ScanCode from the list and press Insert, ScanCode will appear on the label.

Press Close and the bar code will display on the label.
To add other details go to Database > Insert Field and select which field you want to insert.
Tip!
In Idealpos v9 Build 13 and newer, support for Stock Item Attributes is available.
The fields that are available are:
ATTRIBUTE1, ATTRIBUTE2, ATTRIBUTE3, ATTRIBUTE4, ATTRIBUTE5
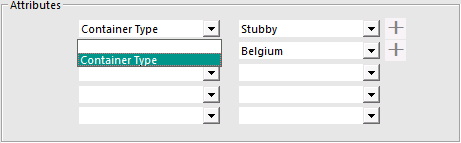
The below contains sample Attribute data generated by the Label export.

The Attribute1-Attribute5 fields can be added to the Label as required.
Note that only the Attribute Description will appear.
E.g. If using Country of Origin and the Country is "Australia", the label will only show "Australia" without any prefix text.
Therefore, it may be beneficial to use the Insert Text function in Avery Design Pro to insert text prior to the Attribute that describes what the Attribute Type is.
E.g. Insert text "Country of Origin" prior to inserting the Attribute field that contains the Country of Origin.
This will ensure that the label will show "Country of Origin: AttributeDescription".
E.g. "Country of Origin: Australia".
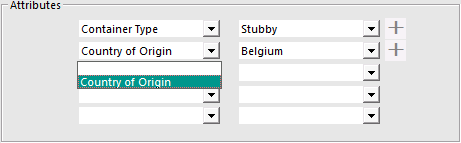
When using the above functionality, it is recommended that each Attribute Type column is reserved for a specific Attribute Type.
E.g. Restrict Container Type to Attribute 1, Country of Origin to Attribute 2, etc.
This will ensure that the printed labels display the correct information (as the process for configuring the Label Format design may require inserting descriptor text prior to the Attribute to describe the Attribute; e.g. Country-of-Origin: [Attribute]).
Refer to the Available in Columns heading of the Setup Attributes page.
E.g. Using the Available in Columns function from Setup Attributes, Attribute 1 is locked to Container Type and Attribute 2 is locked to Country of Origin, as shown below.
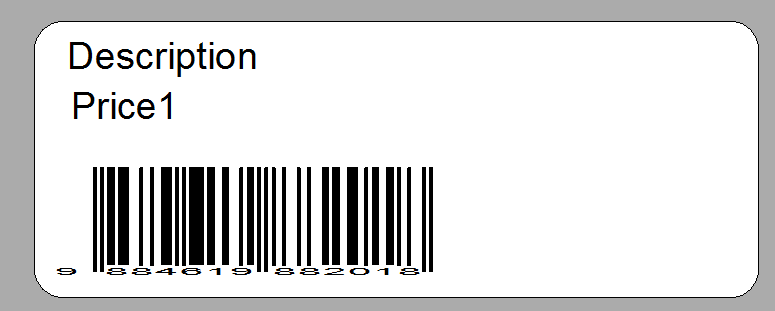
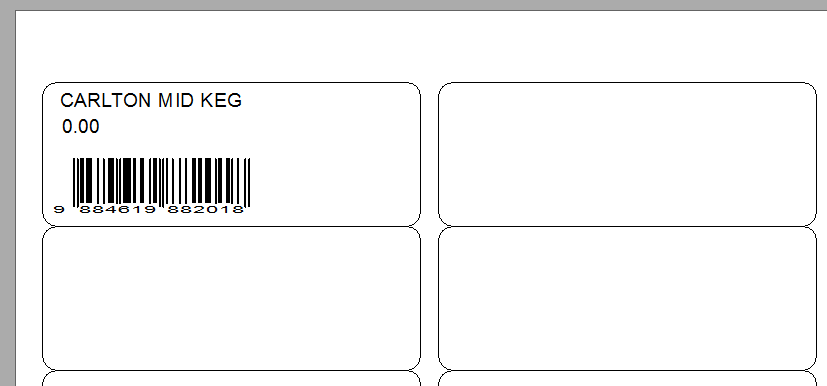
Press the Preview button to see the details and what the labels will look like.
Save the Format File and exit. You will now be able to print the labels for all your stock items.